To add rings in a plandisc, go to Plandisc setup, and click "Add ring"
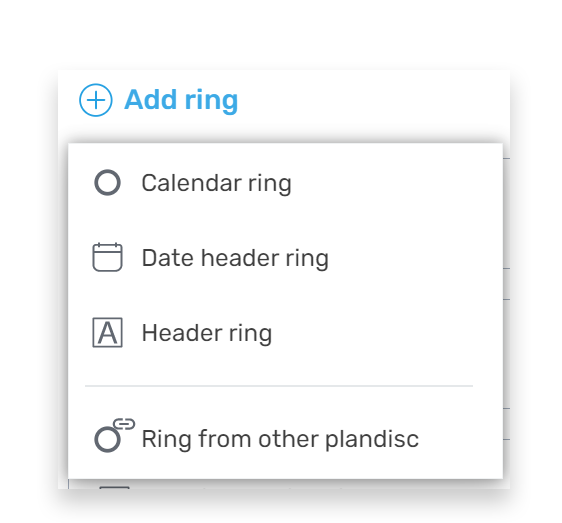
In a plandisc you can use four different types of rings:
- Calendar ring – for activities
- Date header – to show calendar units
- Header ring – to improve your overview
- Ring from other plandisc – to show shared rings from your own and other’s circular calendars
Common to all the rings
You can do this to all the rings in a Plandisc
- Change color
- Change height. Either you can adjust the height of each ring, or click "Equal ring height" in the bottom of the setup. This will make all rings the same height.
- Copy
- Move
- Delete
Adjustment of calendar rings
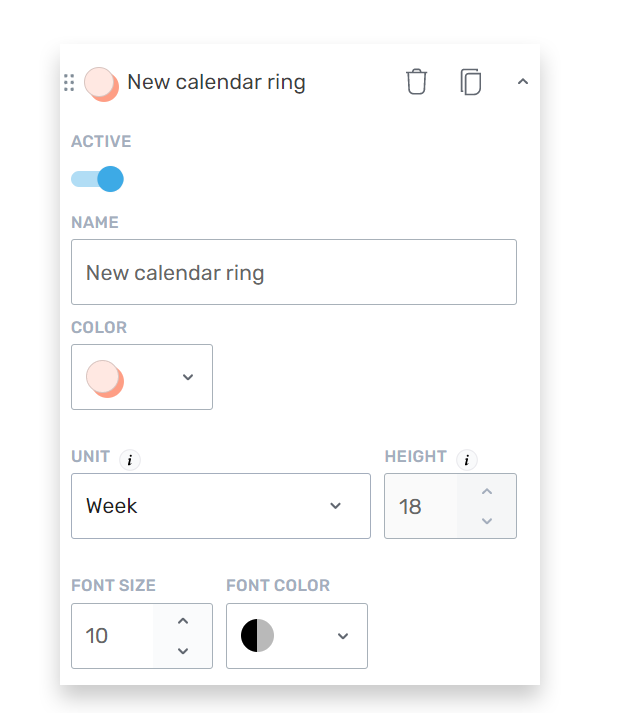
- At the top, you can move, delete or copy the ring
- Active: choose if the ring should be active or not (you can still edit the ring, even though it is not active)
- Name: choose a name for the ring
- Color: Choose a color from the chosen color palette or define a color yourself
- Unit: Choose between day, week or month
- Height: Choose height in percentage of the rings’ height all together
- Text: Choose the color of the text and its size in pixels
Adjustment of date header ring
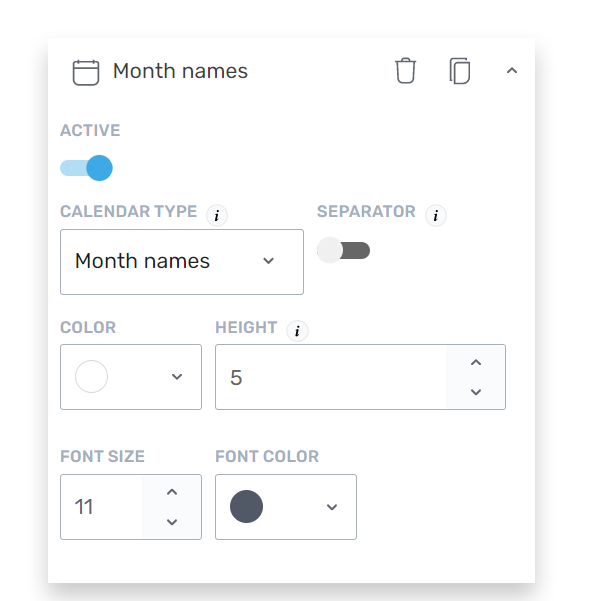
- At the top you can move, delete or copy the ring
- Active: Choose if the ring should be visible in the disc (you can still edit the ring, even though it is not active)
- Calender type: Month, week number or day
- Separator: to show lines separating headers in the ring
- Color: Choose a color from the chosen color palette or define a color yourself
- Height: Choose height in percentage of the rings’ height all together
- Text: Choose the color of the text and its size in pixels
Adjustment of header rings
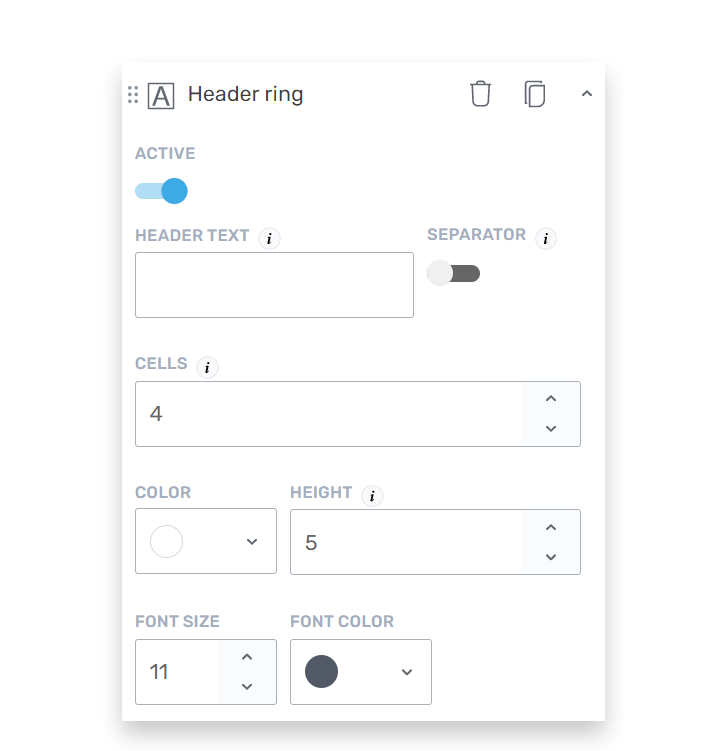
- At the top you can move, delete or copy the ring
- Active: Choose if the ring should be visible in the disc (you can still edit the ring, even though it is not active)
- Header text: insert the text of the header
- Separator: to show lines separating headers in the ring
- Cells: Choose how many times the header is shown in the ring
- Color: Choose a color from the chosen color palette or define a color yourself
- Height: Choose height in percentage
- Text: Choose the color of the text and its size in pixels
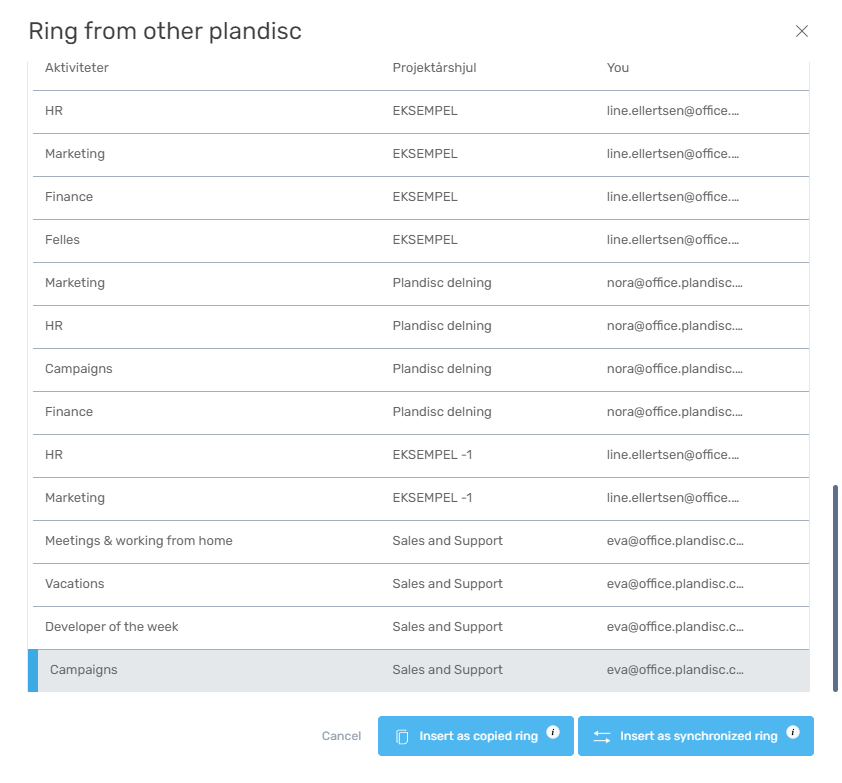
Add a ring from another Plandisc
- Click settings
- Click add ring
- Click add ring from another plandisc

- You can insert a ring from another plandisc either as
-
- A copied ring. This means changes made to the ring in one plandisc, will nor appear in the other.
- A synchronized ring. This means changes made in one plandisc will also appear in the other.
Both type of rings have the following options:
- At the top you can move, delete or copy the ring
- Active: Choose if the ring should be visible in the disc (you can still edit the ring, even though it is not active)
- Name: here you can change the name of the ring
- Color: Choose a color from the chosen color palette or define a color yourself
- Height: Choose height in percentage of the rings’ height all together
- Text: Choose the color of the text and its size in pixels
Next step
Create and edit activities in the circular calendar