
Put your plandisc on your SharePoint intranet so everyone can see the plan without leaving SharePoint. The plandisc stays interactive: people can click activities and read the details. It always shows the latest version, so you don’t need to send out updated files.
Before you start
You need two things:
- The embed code for your plandisc. If you don’t have it yet, follow this guide first: Publish a disc online.
- Permission to embed Plandisc in SharePoint. Your SharePoint Admin needs to add create.plandisc.com to the list of sites that are allowed. If this isn’t done, SharePoint shows the message “Embedding content from this website isn’t allowed” when you paste the embed code. Your admin can follow Microsoft’s guide to changing site settings.
Add your plandisc to a SharePoint post
- Open SharePoint.
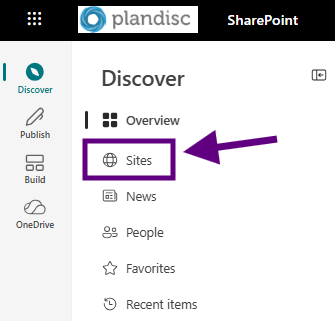
- In the left menu, click Sites.
- Open the site where you want to show your plandisc.
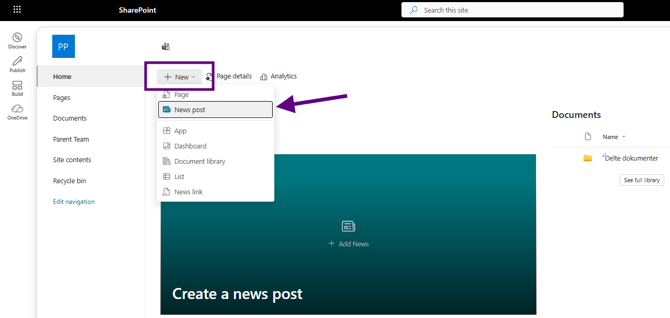
- Click + New, then News post.
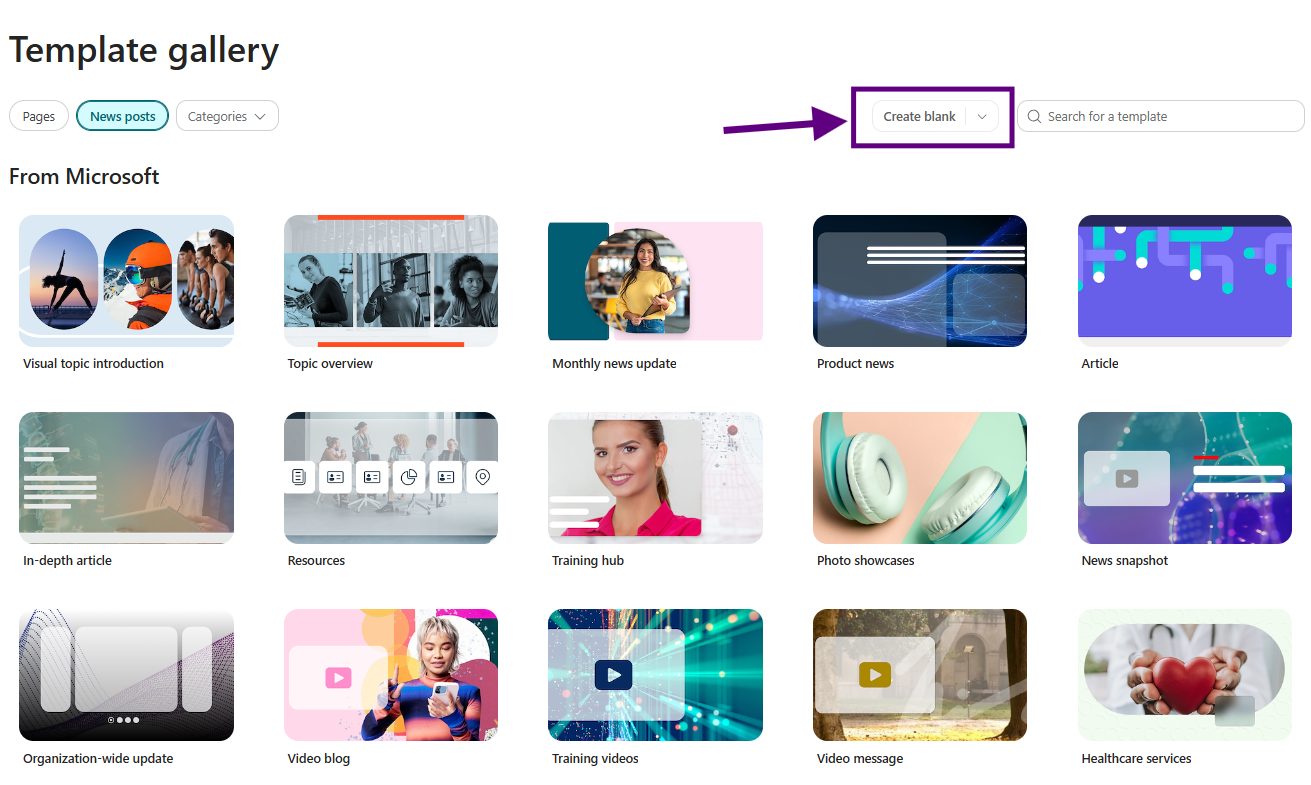
- Click Create blank. This opens a private draft, so only you can see it until you publish.
- Click Add a title and give your post a name.
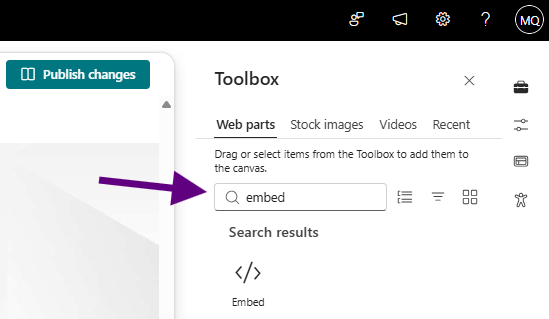
- In the Toolbox on the right, type Embed in the search field, then click Embed.
- In the Website address or embed code field on the right, paste your embed code. Your plandisc now shows in the post.
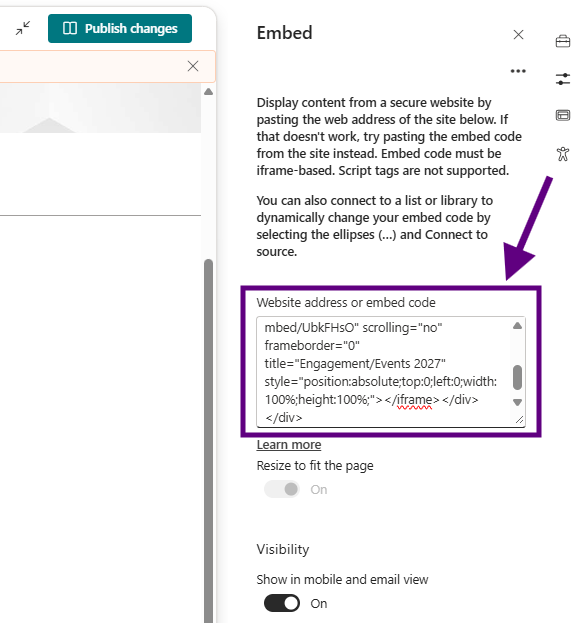
- Click Publish changes at the top right.
That’s it. Your plandisc now shows in SharePoint, and it updates every time you change the plan in Plandisc.
What's more
Integrating Plandisc with Microsoft Teams