
You can share your plandisc with people outside Plandisc — on your website, your intranet, or anywhere else. You decide exactly what they get to see: the whole plandisc, or just specific rings.
Create a public view
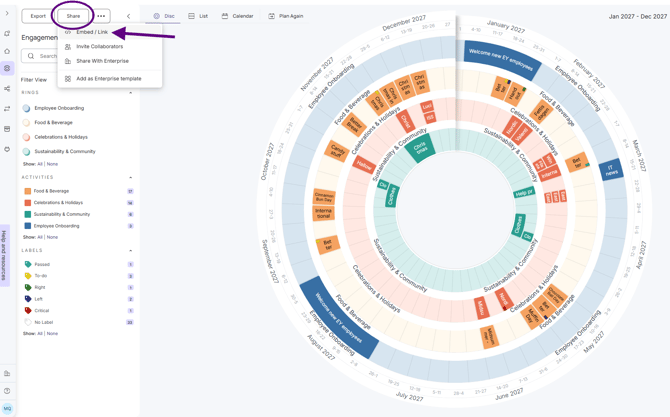
- Click Share.
- Choose Embed / Link.
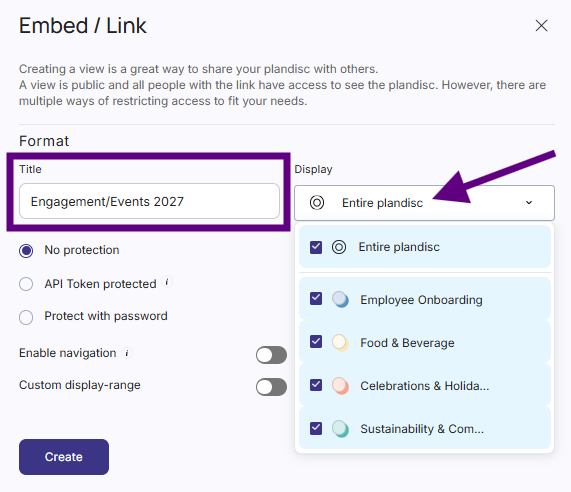
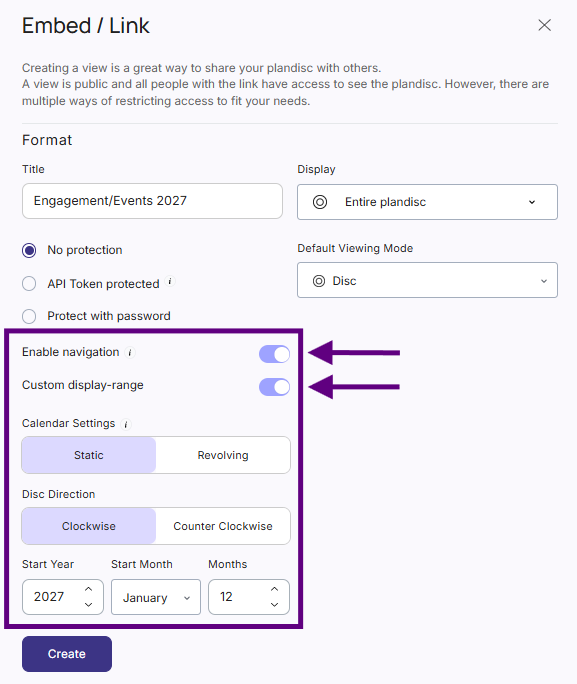
- Give the view a title.
- Choose which rings to include.
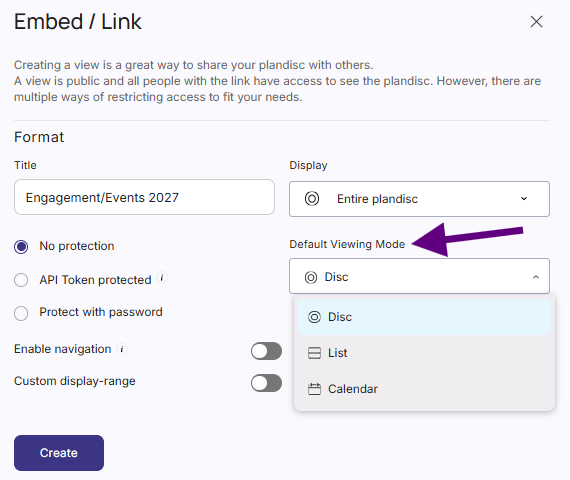
- Pick how it opens for viewers: Disc, List, or Calendar.
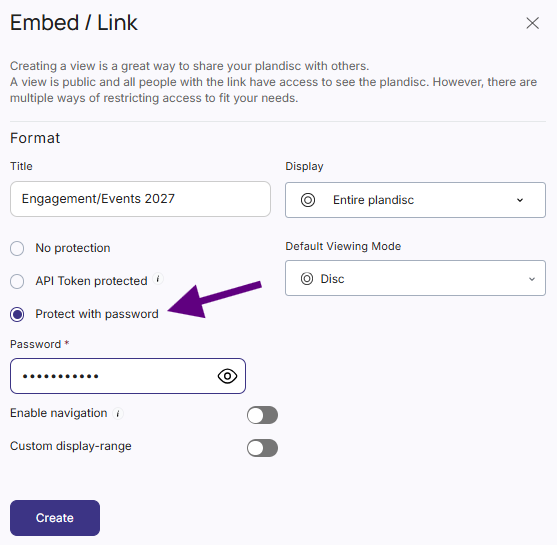
- Add a password if you want to protect the view.
- Optionally, let viewers browse the full plandisc freely, or set a fixed time frame so they only see part of it.
- Click Create.
Your public view is ready. You can share it two ways:
- Embed code — add it to a website or an intranet platform like SharePoint.
- Direct Link — send it by email, or add it as a link in Microsoft Teams.
Edit or delete a public view
To make changes later, go to Share → Embed / Link again and scroll down. You'll see all the public views you've created for this plandisc.
- Click the gear icon to open a view's settings and change it.
- Click the trash icon to delete a view.
Create more than one public view
Sometimes different audiences need different information — for example, one ring on your public website, and the full plandisc for your colleagues. By following the same steps as above, you can create several public views of the same plandisc to cover that.