
You can create a new Plandisc from two places:
- The "New plandisc" button in the top left corner of your dashboard

- Under "My plandiscs"
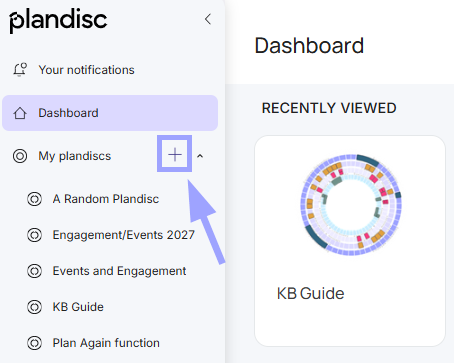
Choose how to start
You have two ways to build your plandisc:
- Start from scratch
- Start from a template
Start from scratch
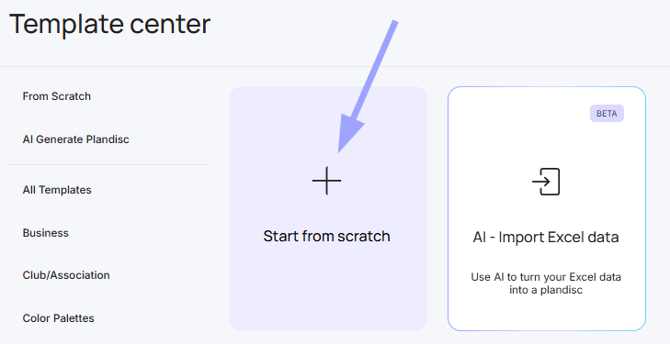
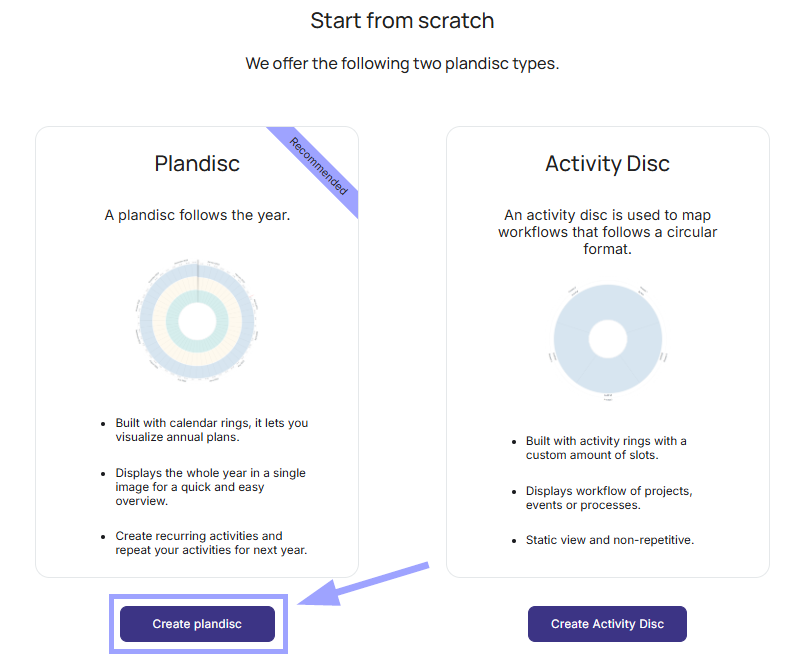
You'll now have an adjustable plandisc with five rings already set up:
- Date header ring - months
- Date header ring - weeks
- 3 x Calendar rings
Start from a template (can only be accessed under My Plandiscs)
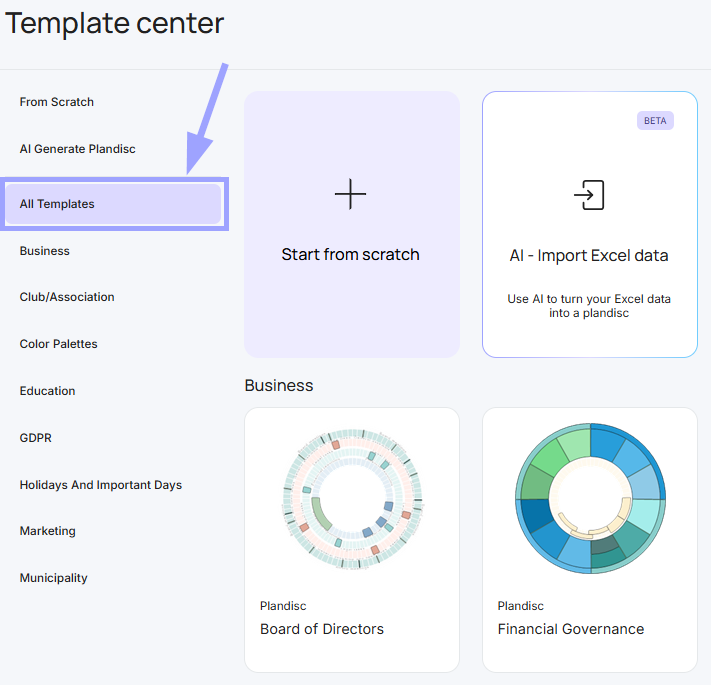
- The template center opens. On the left, you'll see a list of industries with matching templates.
- Pick an industry and find a template you like - for example "Education" and "Teachers and school leaders".
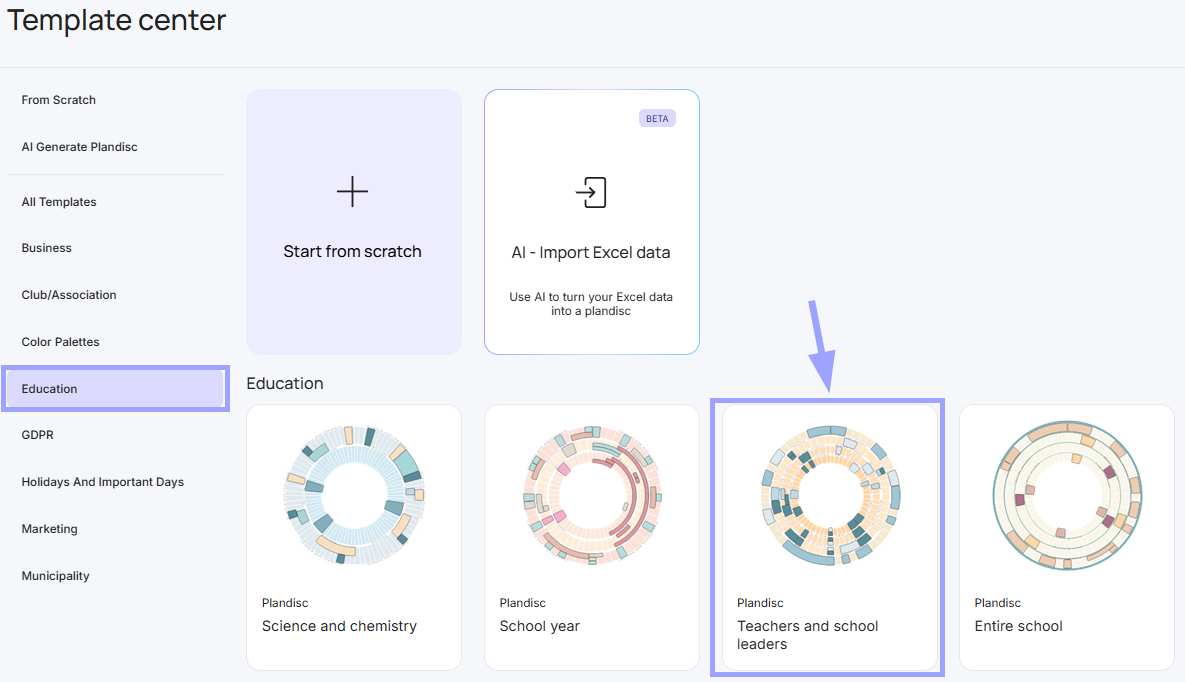
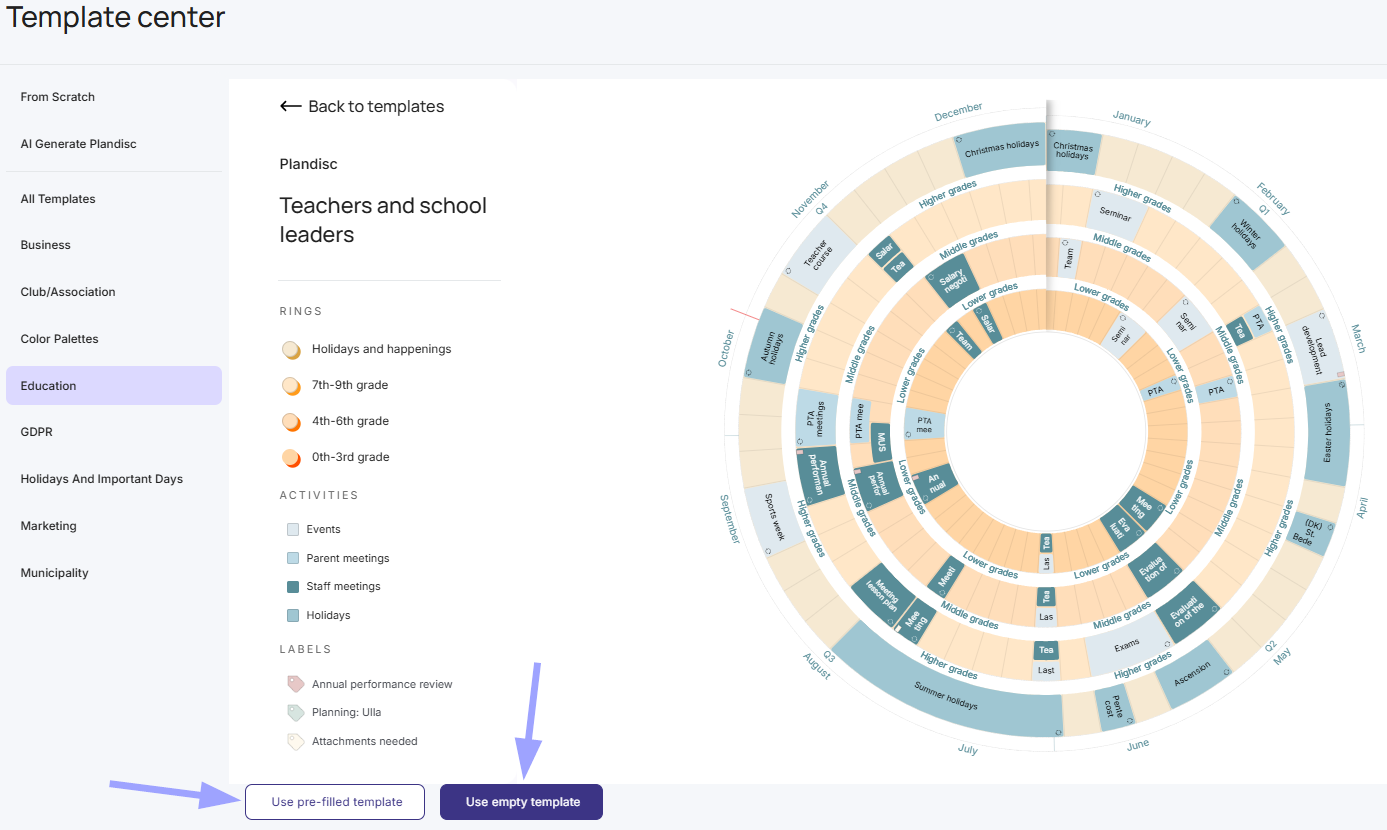
- Click the template, then choose "pre-filled" or "empty" in the bottom right corner.
Choose your basic settings
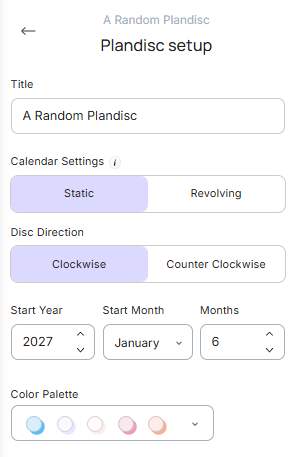
Once your plandisc is created, set these basics:
- Title: Give your plandisc a name.
- Calendar settings – static or revolving: In a static disc, your chosen start month always stays at the top. In a revolving disc, the current month always stays at the top — it rotates as the year goes on.
- Disc direction – clockwise or counter clockwise: Choose which way your plandisc reads.
- Start year: Choose the year your disc should start from.
- Start month: Choose the month your disc should start from.
- Months: Choose how many months to display, from 1 up to 24. Showing fewer than 12 months makes each activity's name appear larger, which helps if you have a lot of activities. This only changes what's visible — activities outside your chosen range are still there, you just don't see them in the current view.
- Color palette: Pick the colors for your plandisc.
What's next
Once your basic settings are in place, you can add and adjust rings to build out your plandisc.