You can create a new circular calendar two places
- In the upper left corner in your Dashboard
- Under "My plandiscs"
Choose between two ways to create the circular calendar
Create a circular calendar from scratch
- Tap “New plandisc”

- Choose the type “Plandisc” and tap “create”
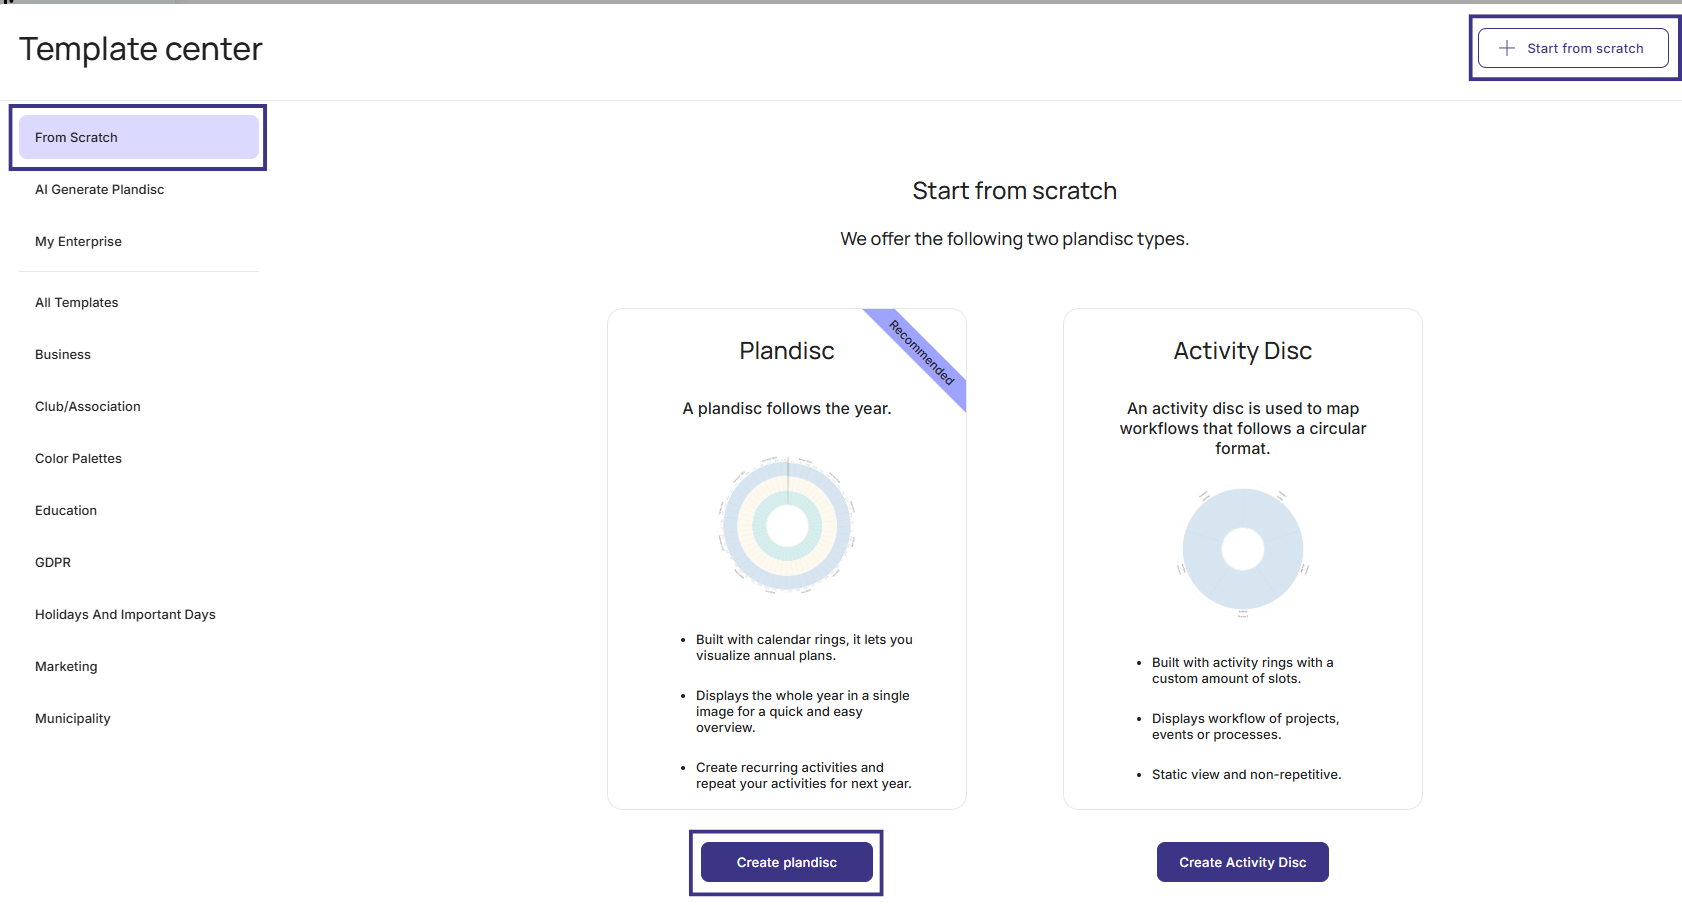
You now have an adjustable circular calendar with these 3 rings:
- Date header - months
- Date header - weeks
- Calendar rings
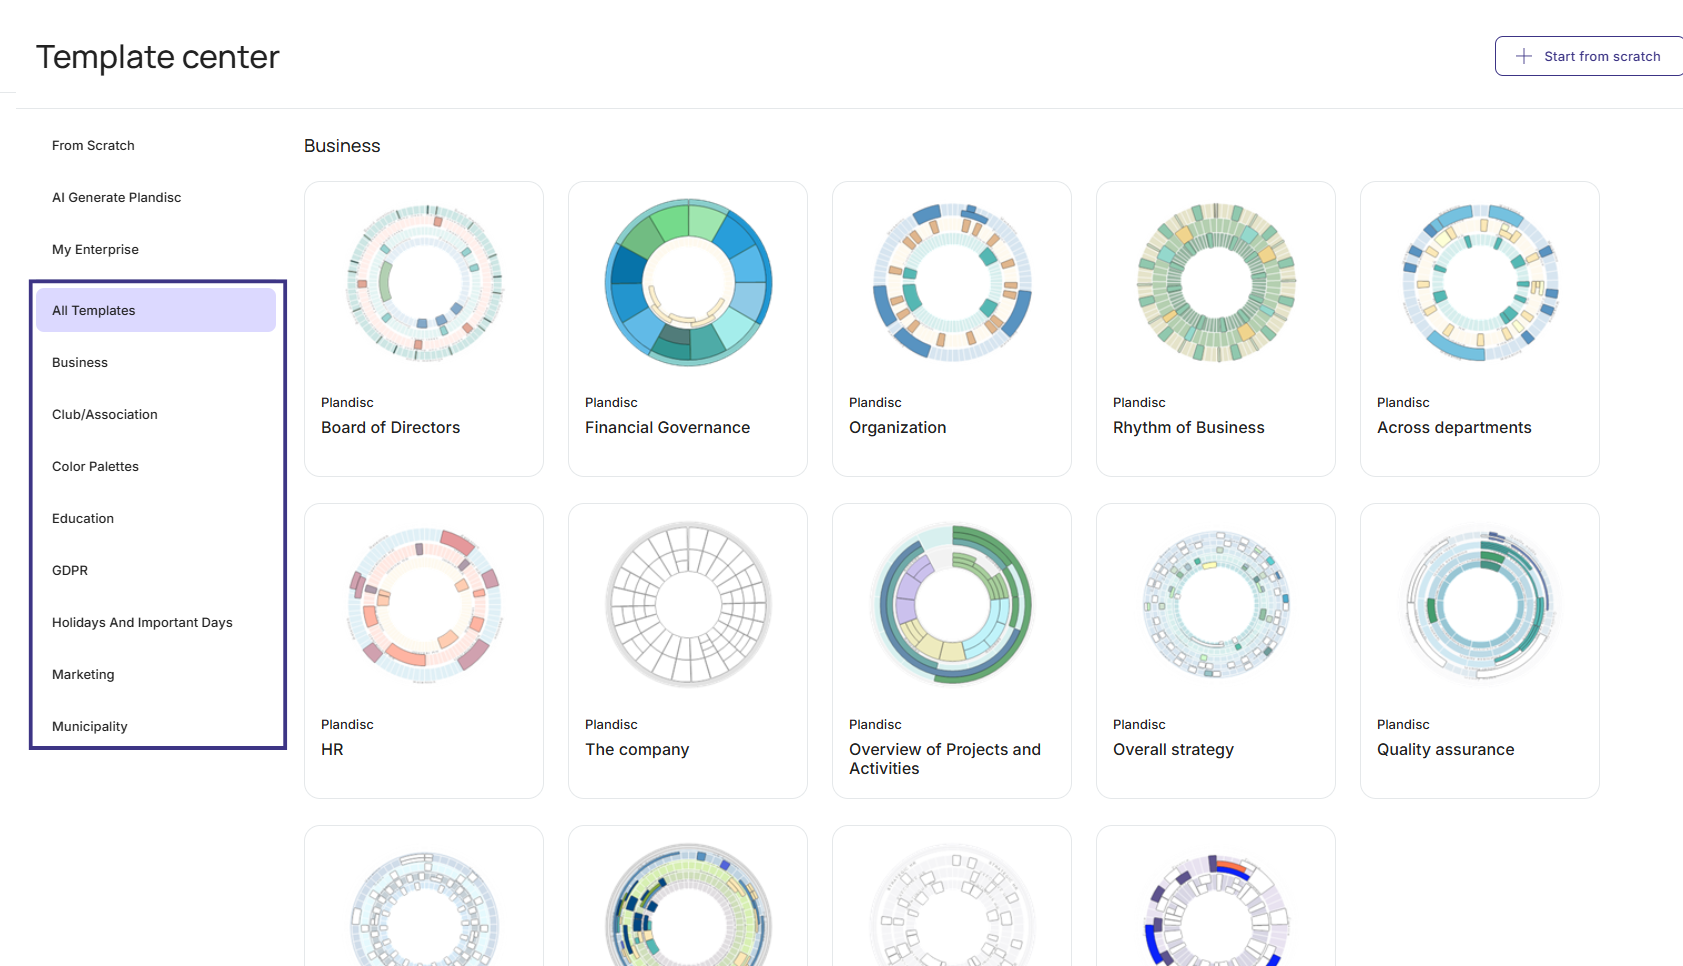
Create a circular calendar from a template
- Tap “add plandisc”
- The template center will now appear. On the left side of your screen there is a list of industries we have templates for
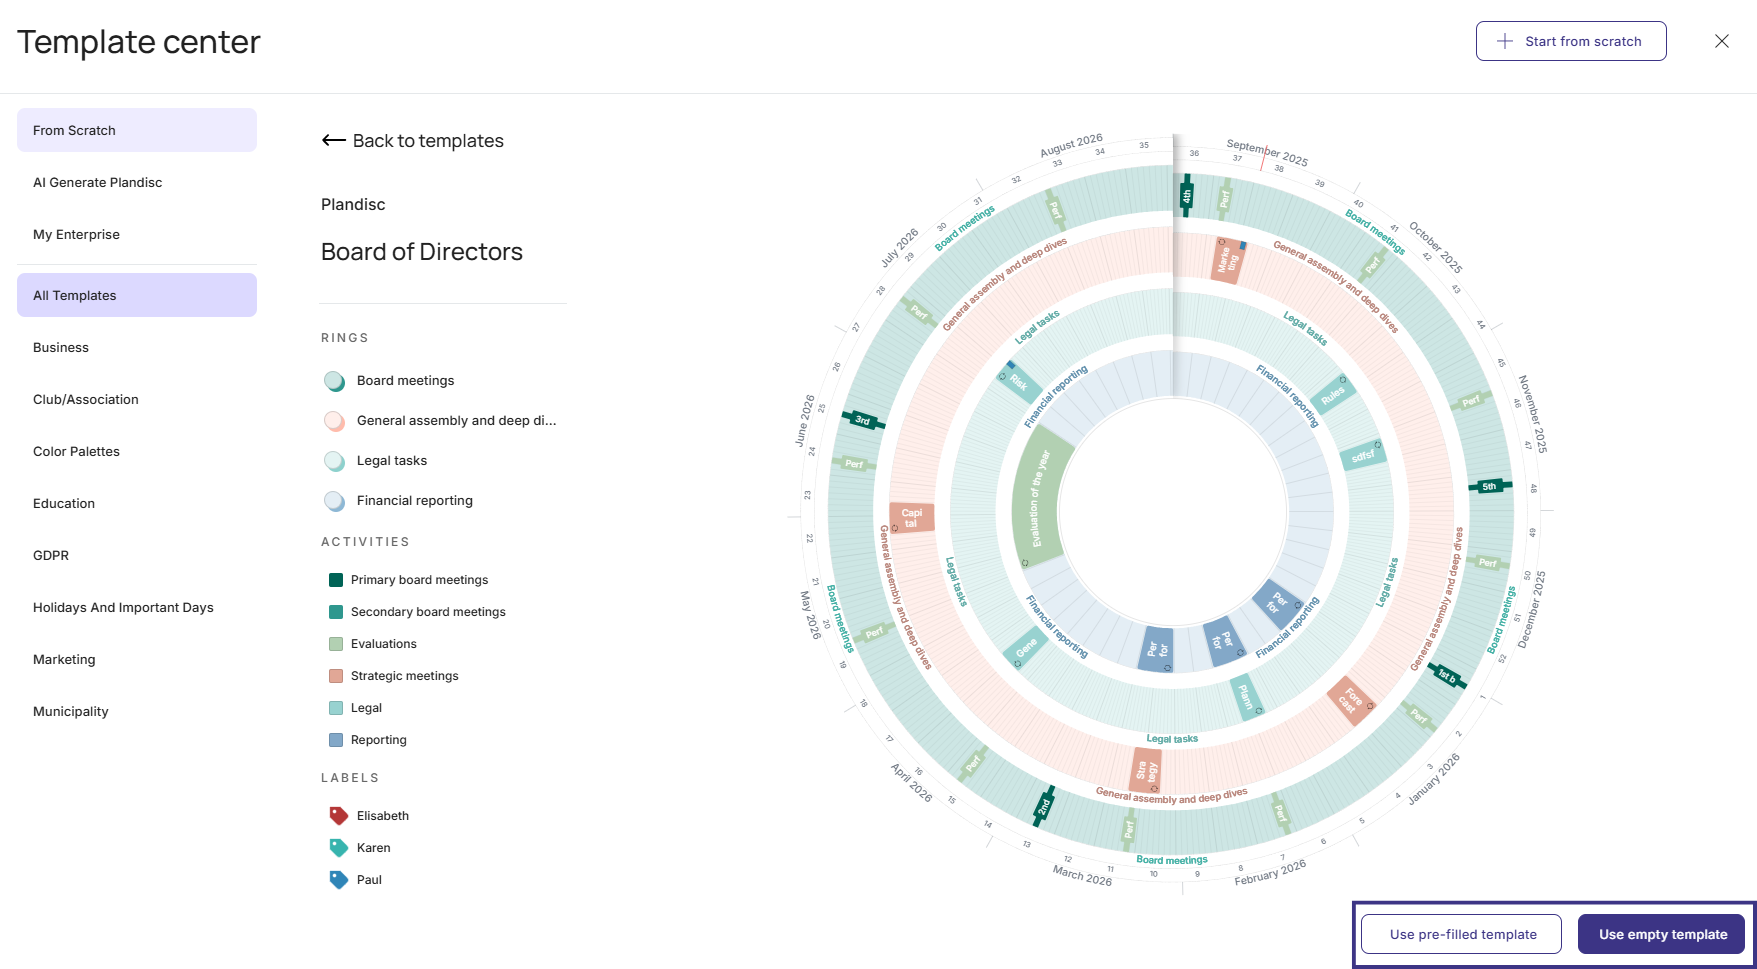
- Click on your preferred type of industry and find your preferred template
- Click the template and choose in the bottom right corner if you wish to use a pre-filled or empty template
You can continue with
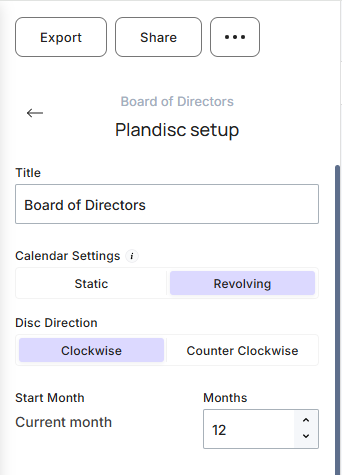
Adjust general settings
You can adjust these general settings
- Give the disc a title
- Choose between a static or revolting disc. Notice: This affects only the lay out in the disc. You can still manage the months that are not shown.
- Choose the year and month the disc should start from. Notice: This affects only the lay out in the disc. You can still manage the months that are not shown. If you choose to show less than 12 months the individual activities will seem larger in the lay out. This can be an advantage if you have many activities in the disc
- Choose the color palette
When you have done this, you can adjust your circular calendar even more by adding and adjusting rings.
Next step
Add and adjust rings in your circular calendar.