
In this article, you'll learn how to create an activity disc in Plandisc and set up its general settings.
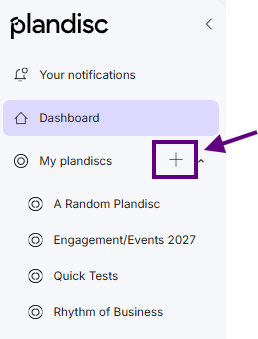
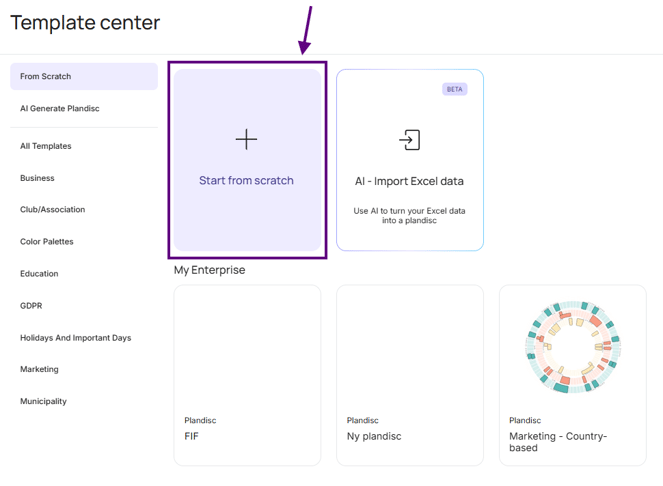
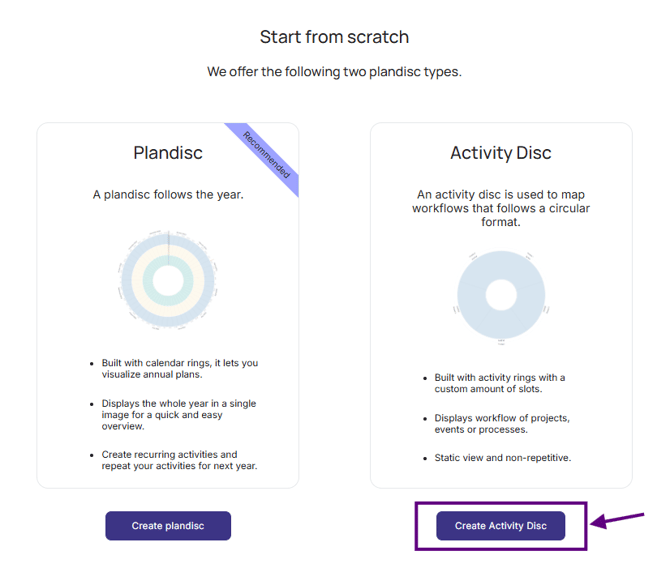
You can create an activity disc in two places:
- The dashboard, in the upper right corner
- Under "My Plandiscs"
Your disc will now look like this:
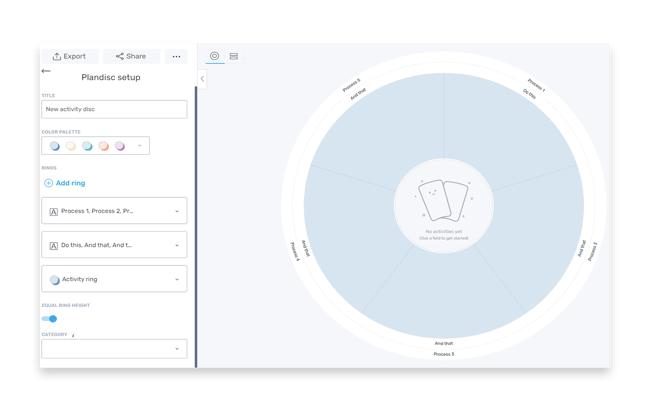
Your new disc starts with three rings:
- Header ring: Process (Process 1, Process 2, Process 3...)
- Header ring: Do this, And that, And that...
- Activity ring
1. Adjust the general settings
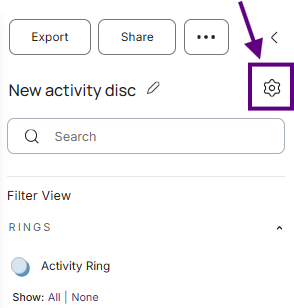
Now you can adjust general settings, like the disc's name and color palette. Click the gear icon next to the disc name to open settings.
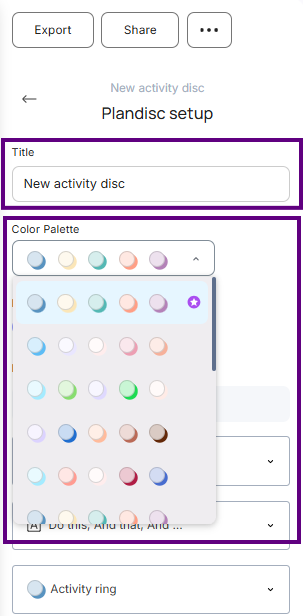
Plandisc offers a few color palettes for your rings, so your colors stay consistent throughout the disc. When you add new rings, you can pick from your chosen palette.
You're not stuck with that palette, though. You can still choose a different color for any ring if you need to.
2. Set up the header ring
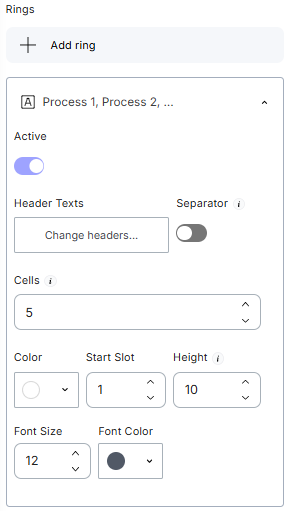
Expand the header ring to see its settings. Here, you can edit:
- Active: Turn the ring on or off in the disc. (You can still edit it while it's inactive.)
- Header Texts: Change the text by clicking the button.
- Separator: Choose whether to show separators between the texts in the ring.
- Cells: Choose how many cells the ring has.
- Color: Pick a color from your palette, or set your own.
- Start Slot: Choose which cell comes first.
- Height: Set how tall the ring is, in pixels.
- Font: Choose the font size and color.
3. Set up the activity ring
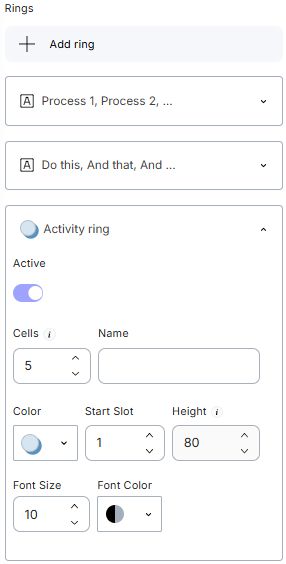
Expand the activity ring to see its settings. Here, you can edit:
- Active: Turn the ring on or off in the disc. (You can still edit it while it's inactive.)
- Cells: Choose how many cells the ring has.
- Name: Name the ring. This name won't show in the disc itself — that's why it's a good idea to add a header ring on top of it.
- Color: Pick a color from your palette, or set your own.
- Start Slot: Choose which cell comes first.
- Height: Set how tall the ring is, in pixels.
- Font: Choose the font size and color.
4. Insert a ring from another activity disc
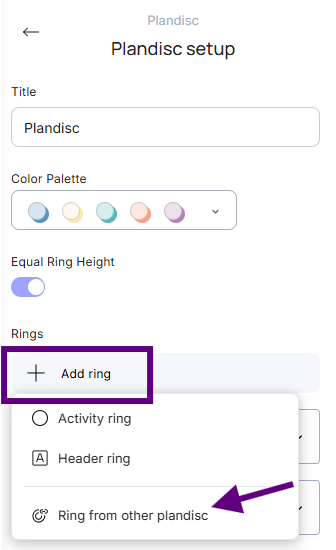
- Click "Add ring," then "Ring from other Plandisc."
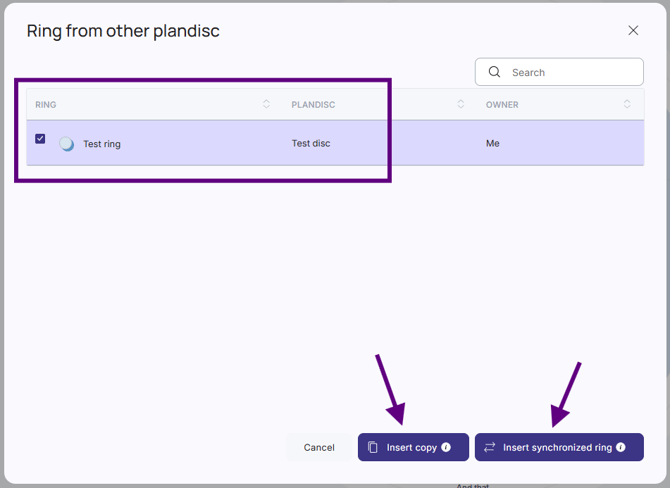
- Choose the ring you want to add from the list, then decide how to insert it:
- Copy: Changes you make won't affect the original ring.
- Synchronized ring: Changes you make show up in both the original ring and the copy.
Once inserted, you can adjust the ring's color and height, and turn it on or off.
Next step
Ready to fill your disc with content? Learn how to create and edit activities in an activity disc.