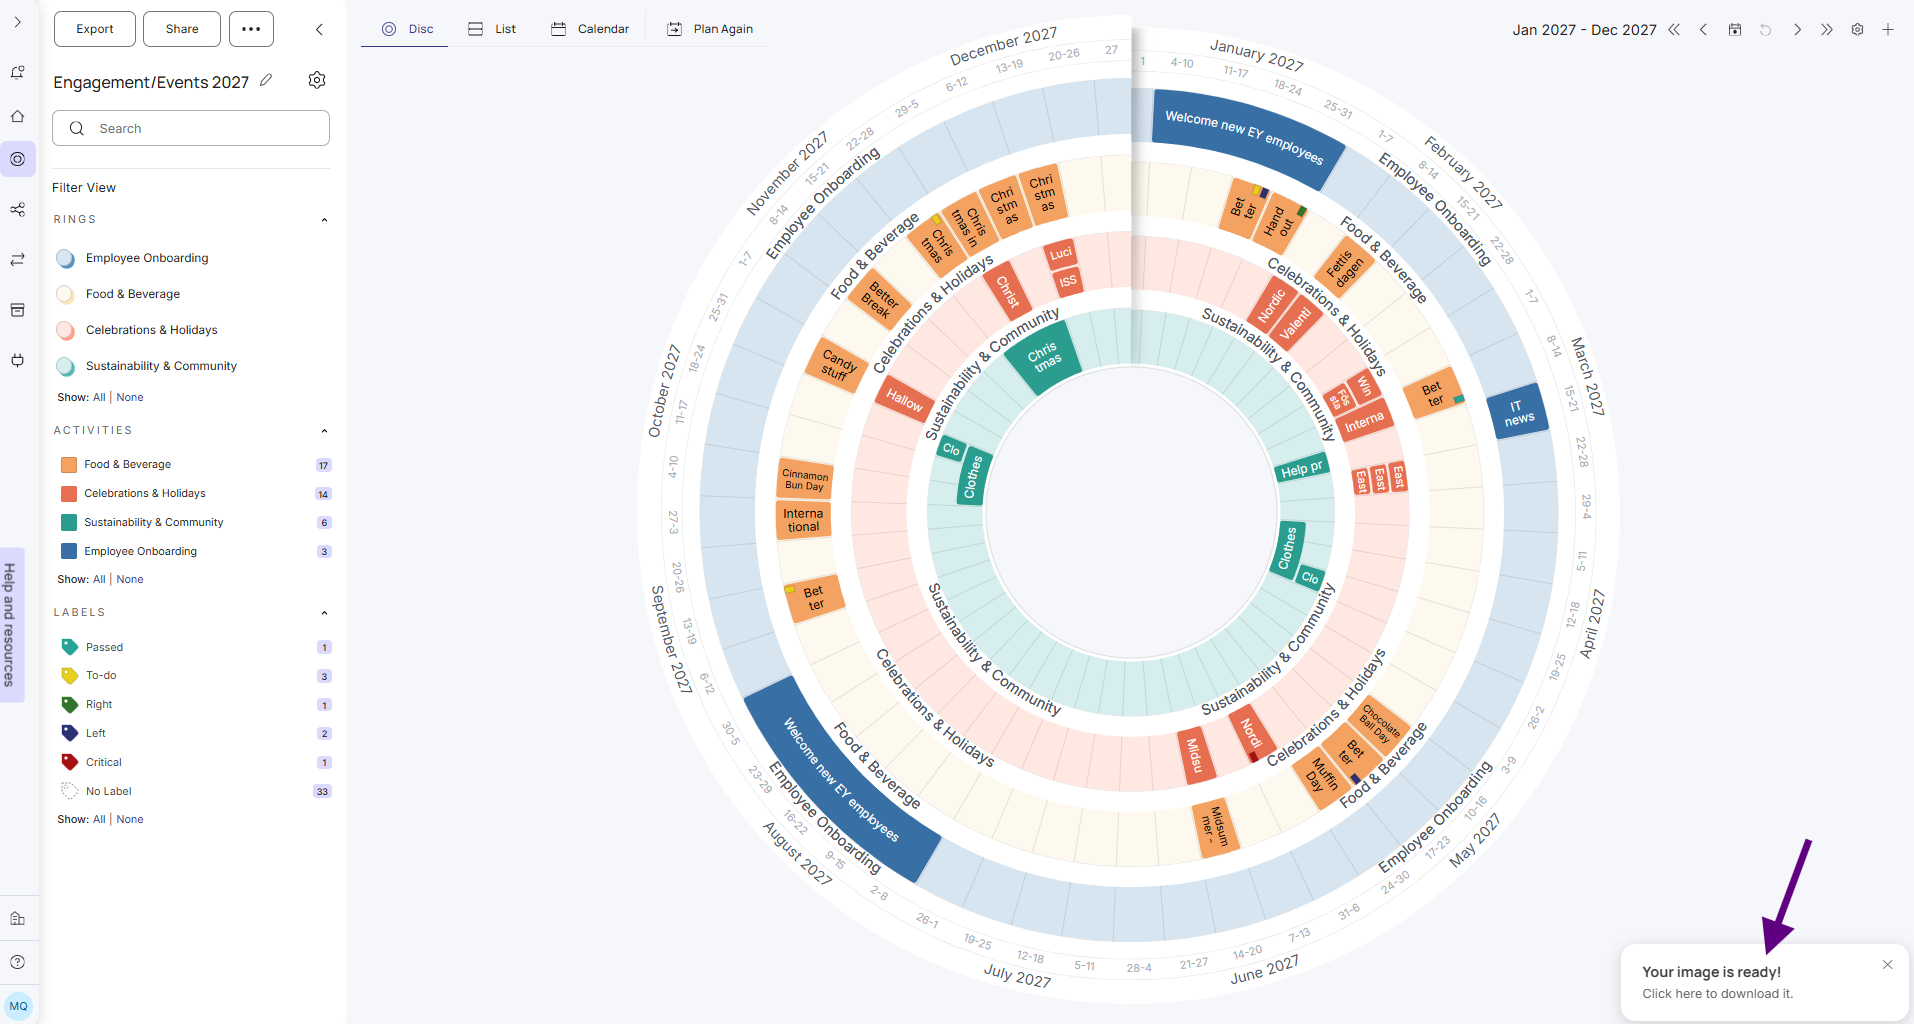
Need a paper copy to hand out at a meeting or pin on the wall? Export your plandisc as a PDF or PNG file, then print it.
- PDF: Pick the layout, period, and paper size. Best for printing and reports.
- PNG: A large image of exactly what you see on screen. Good for slides, emails, or intranet pages.
Export to PDF
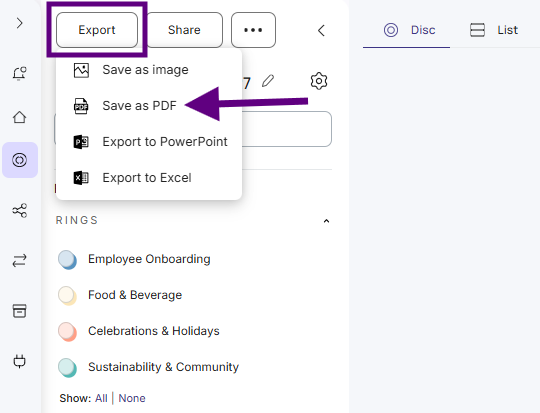
- Click Export.
- Click Save as PDF.
- Choose your settings:
- View: Choose which view to export, for example Disc.
- Layout: Choose Regular for the plandisc only. Choose Details to include more information about your activities.
- Disc Direction: Choose Clockwise or Counter Clockwise.
- Period: Choose Current View to export the months you see now. Choose Custom Range to pick other dates.
- Format: Choose the paper size, for example A4.
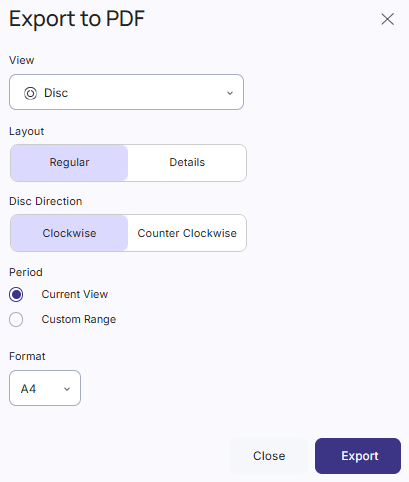
- Click Export.
- Open the PDF and print it.
Tip: A printed plandisc is easiest to read when it shows three to six months. A full year on one page can get crowded. Use Custom Range to export a shorter period.
Export to PNG
The PNG shows your plandisc exactly as it looks on screen. Before you export, set up the view you want. For example, change the period or hide rings you don't need. You can do so under Plandisc setup.
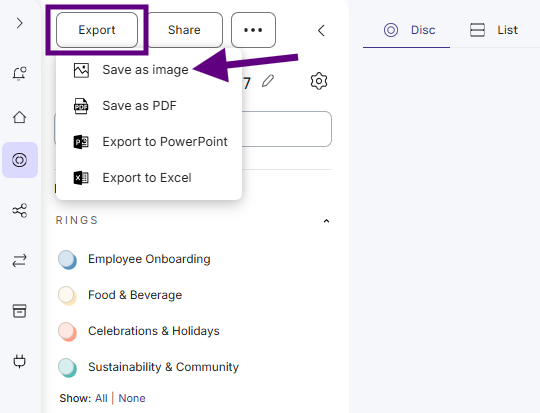
- Click Export.
- Click Save as image.
- Wait while Plandisc creates your image. You can close the message and keep working while you wait.
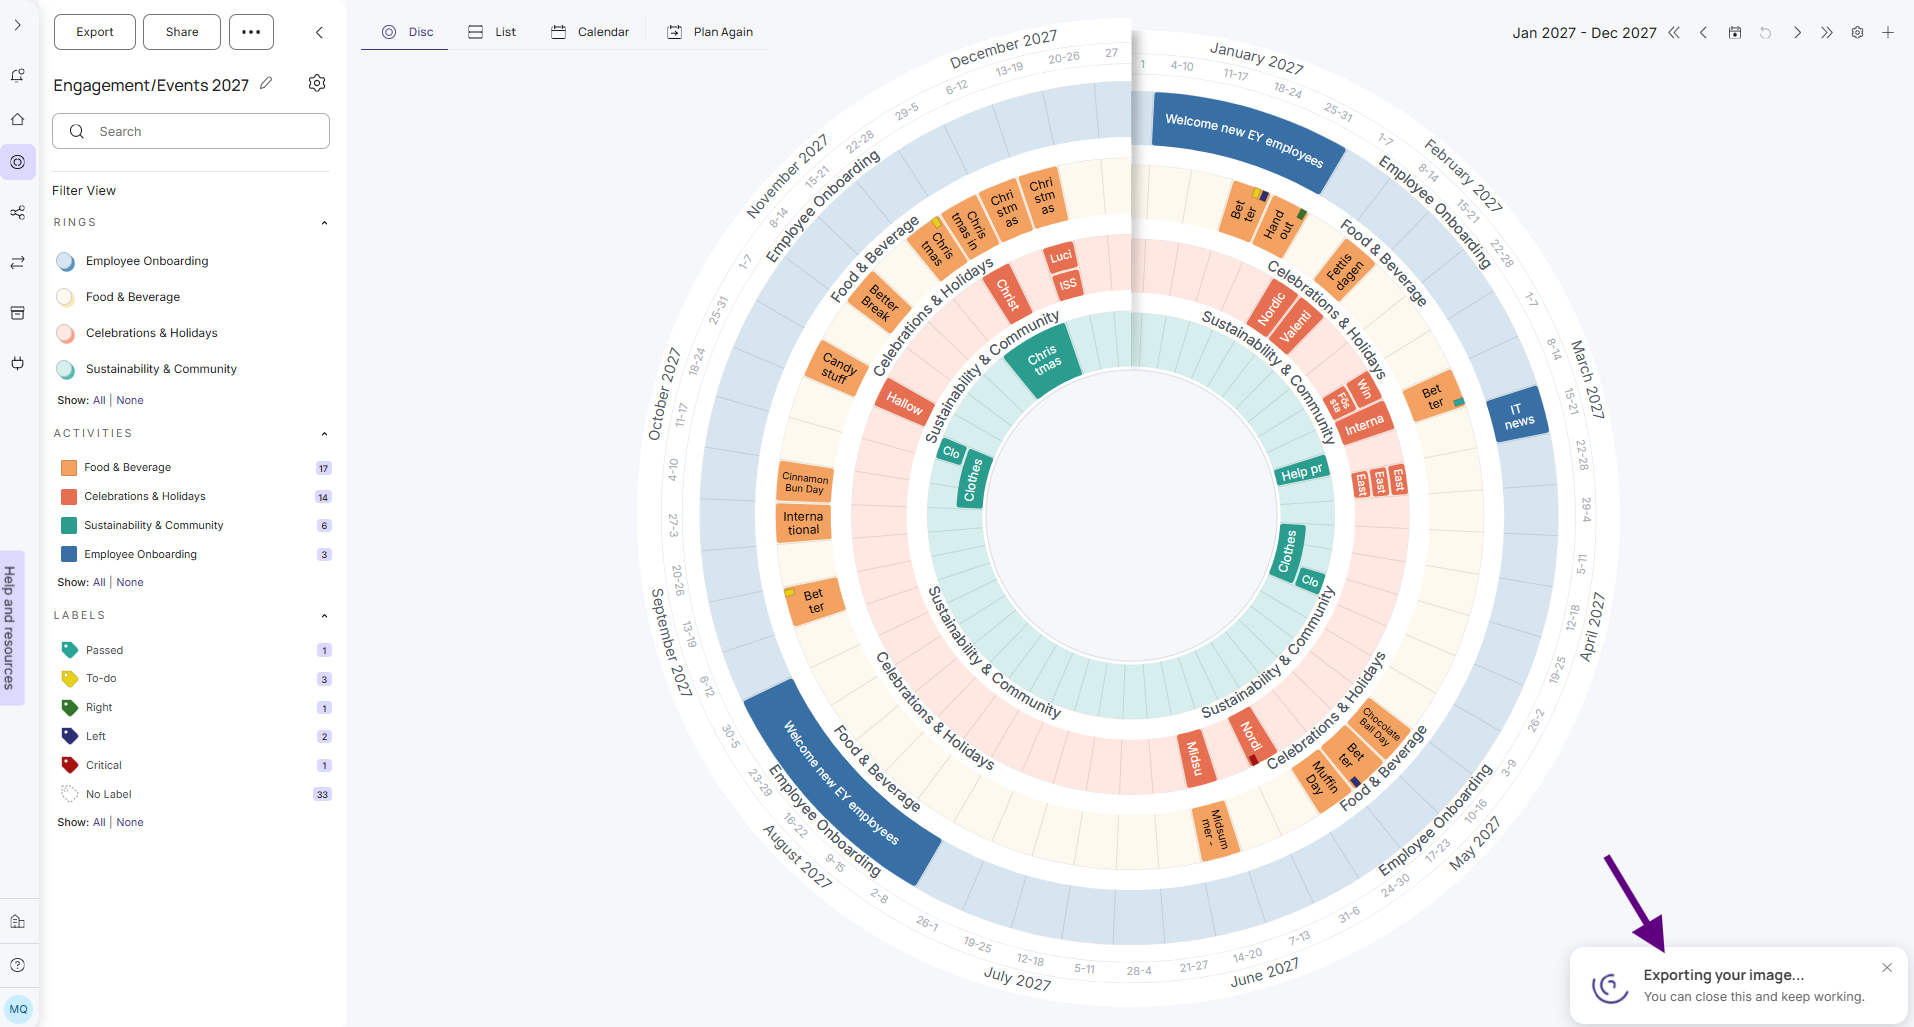
- When you see Your image is ready!, click the message to download the image.