
Once your rings are set up, you're ready to fill your circular calendar with activities. This article shows you how to create an activity, set its time, repeat it, and add the details your team needs — like files, tasks, a location, attendees, and reminders.
Create an activity
- Open your circular calendar from the Dashboard or from My Plandiscs.
- Click the cell in the activity ring where you want the activity to start.
This opens the edit window, where you can set up everything about the activity.
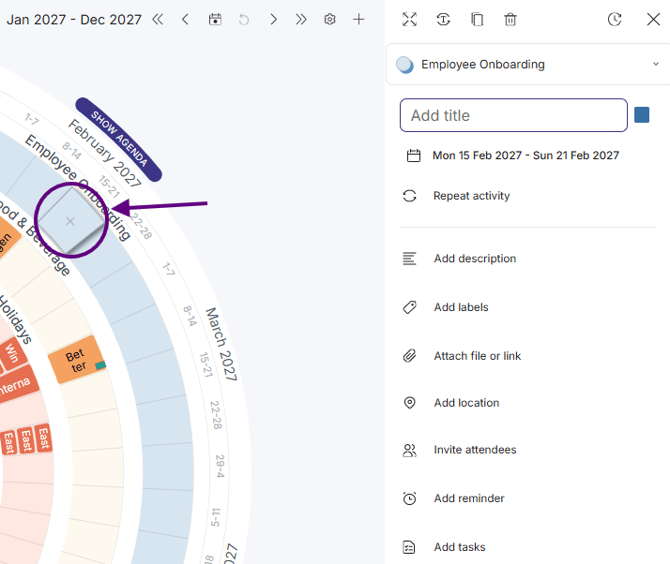
Title and layout
- Title: type a title for the activity.
- Expand: expands the sidebar for a better view.
- Horizontal or vertical: use the icon on the left to switch how the title is shown.
- Duplicate: use the middle icon to duplicate the activity.
- Delete: use the icon on the right to delete the activity.
Activity group (color)
As you use colors, Plandisc keeps count of how many times you've used each one, so you can see your color statistics at a glance. Colors also work as activity groups, so you can filter your circular calendar by activity type later.
Set the time for an activity
Click the date field to set when the activity happens, and in which time zone.
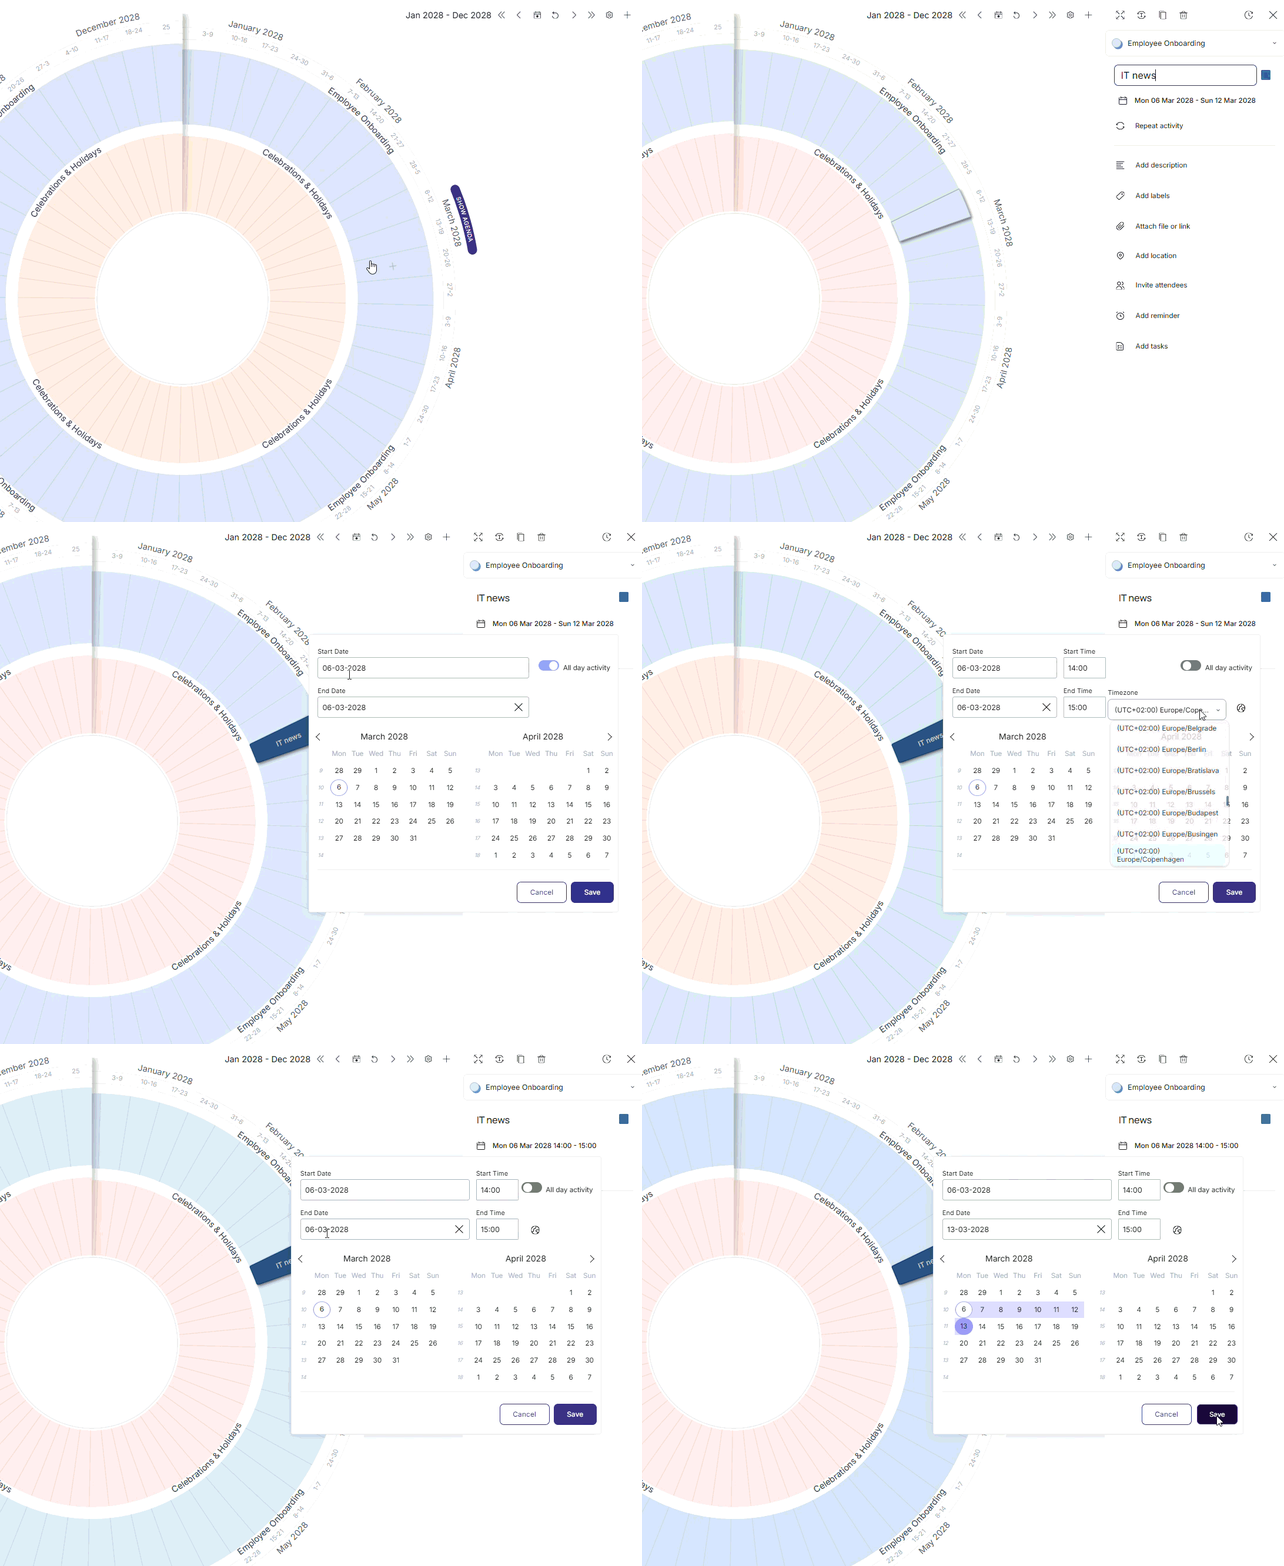
For an activity on a single day:
- Choose the date in the calendar.
- Choose all-day, or set a specific time period.
- Save.
For an activity spanning a period:
- Choose a start date and an end date.
- Choose all-day, or set a start time and an end time.
- Save.
Create a recurring activity
- Create a single activity on its first day.
- Click "Repeat activity."
- Choose how often it repeats: daily, weekly, monthly, or yearly.
- Choose when it stops repeating:
- Never
- Until a specific date
- After a set number of times
- Click OK.
Add a description
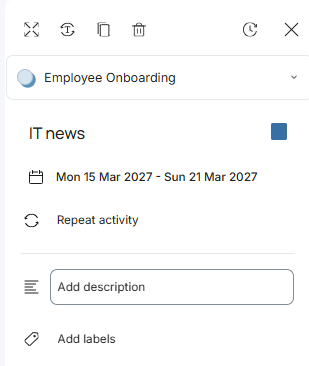
Use the description field to add all the details people need. You can format the text with:
- Bold
- Italic
- Numbered lists
- Bulleted lists
- Links
Add labels
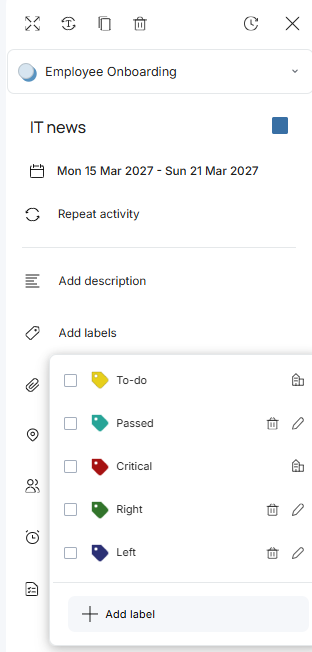
Labels give extra information about an activity, like its status or who's responsible for it. You can add more than one label to the same activity.
- Click "Add labels."
- Click the pen icon to edit the labels.
- Name each color you want to use as a label.
- Add new labels as needed.
- Click OK.
Attach files
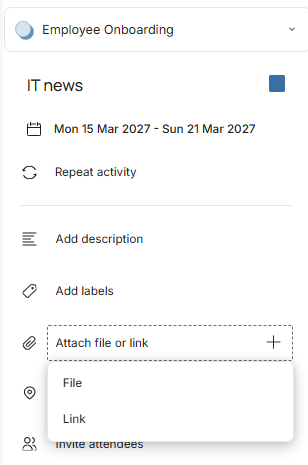
Add documents, images, or other files to an activity in two ways:
- Drag a file from your computer straight into the edit window.
- Click the "+" button, then browse your computer and select a file.
Add tasks
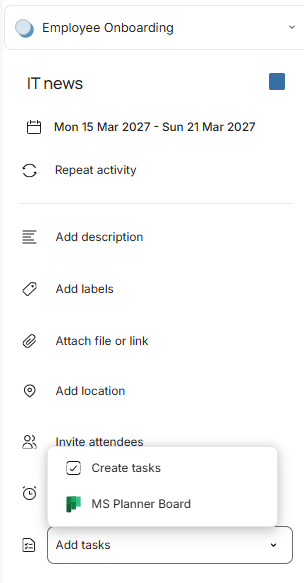
Break an activity down into smaller to-dos and track progress on each one. Connect to Microsoft Planner (requires Microsoft Integration), or use Plandisc's built-in tasks — whichever fits your workflow.
Invite attendees
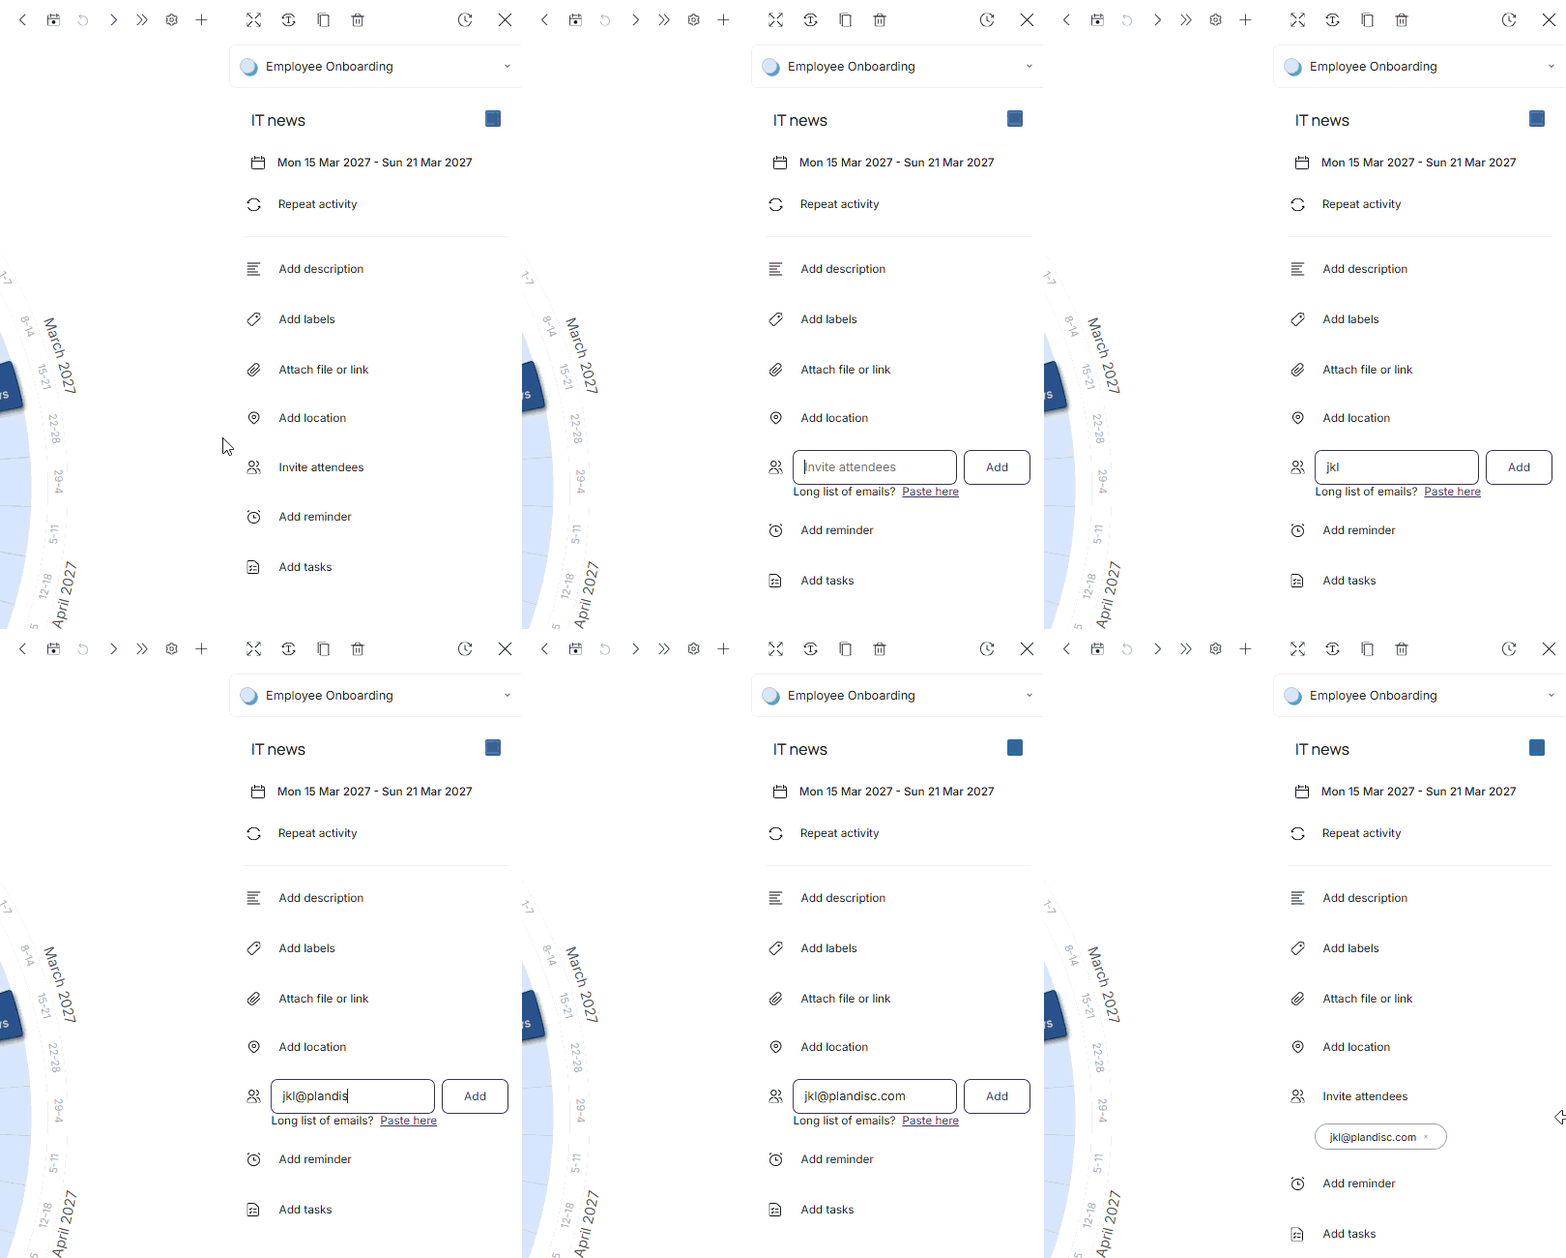
Type in the email addresses of everyone you want to invite.
Add a reminder
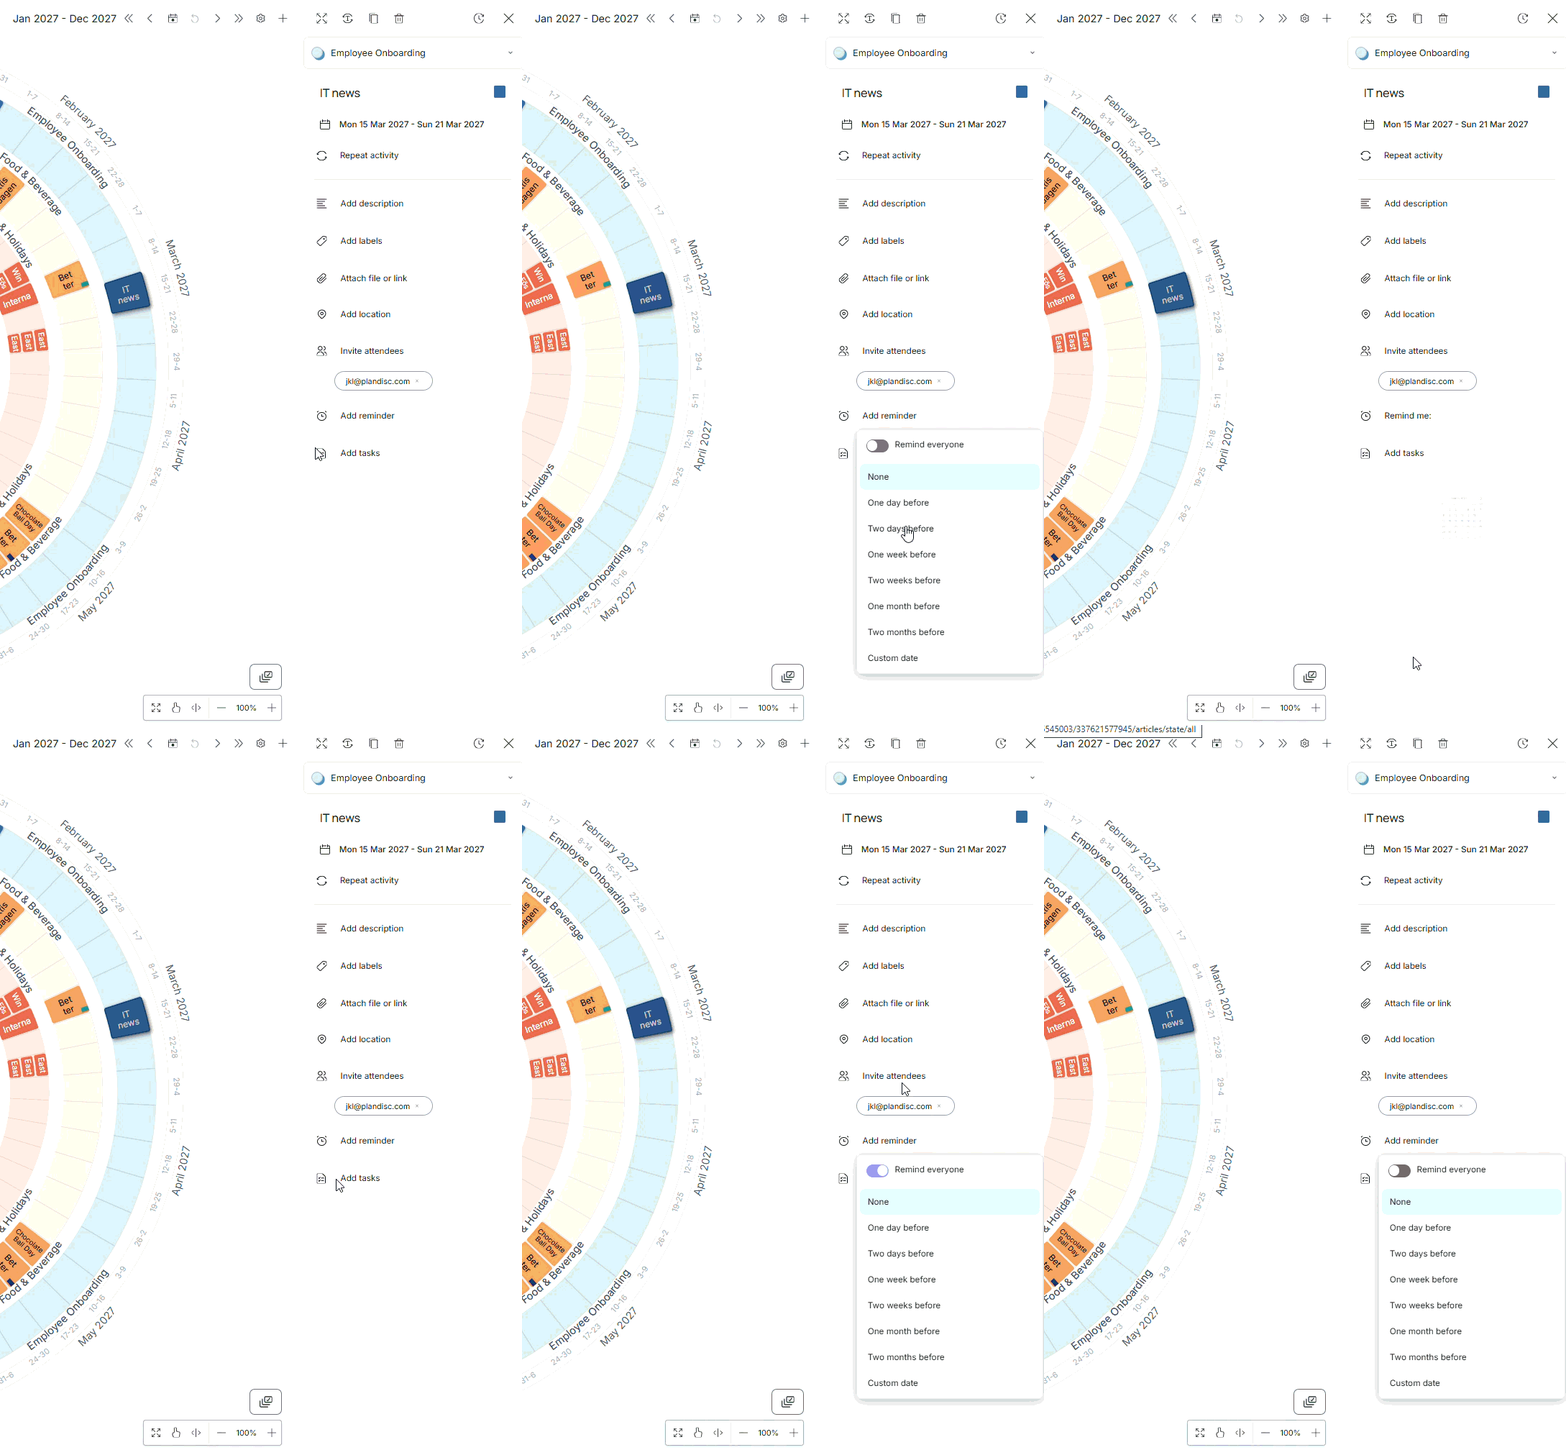
Add a reminder, you and all the attendees (if selected) get it by email.
Choose from:
- A day before
- Two days before
- A week before
- Two weeks before
- A month before
- Two months before
- A custom date
Plan again next year
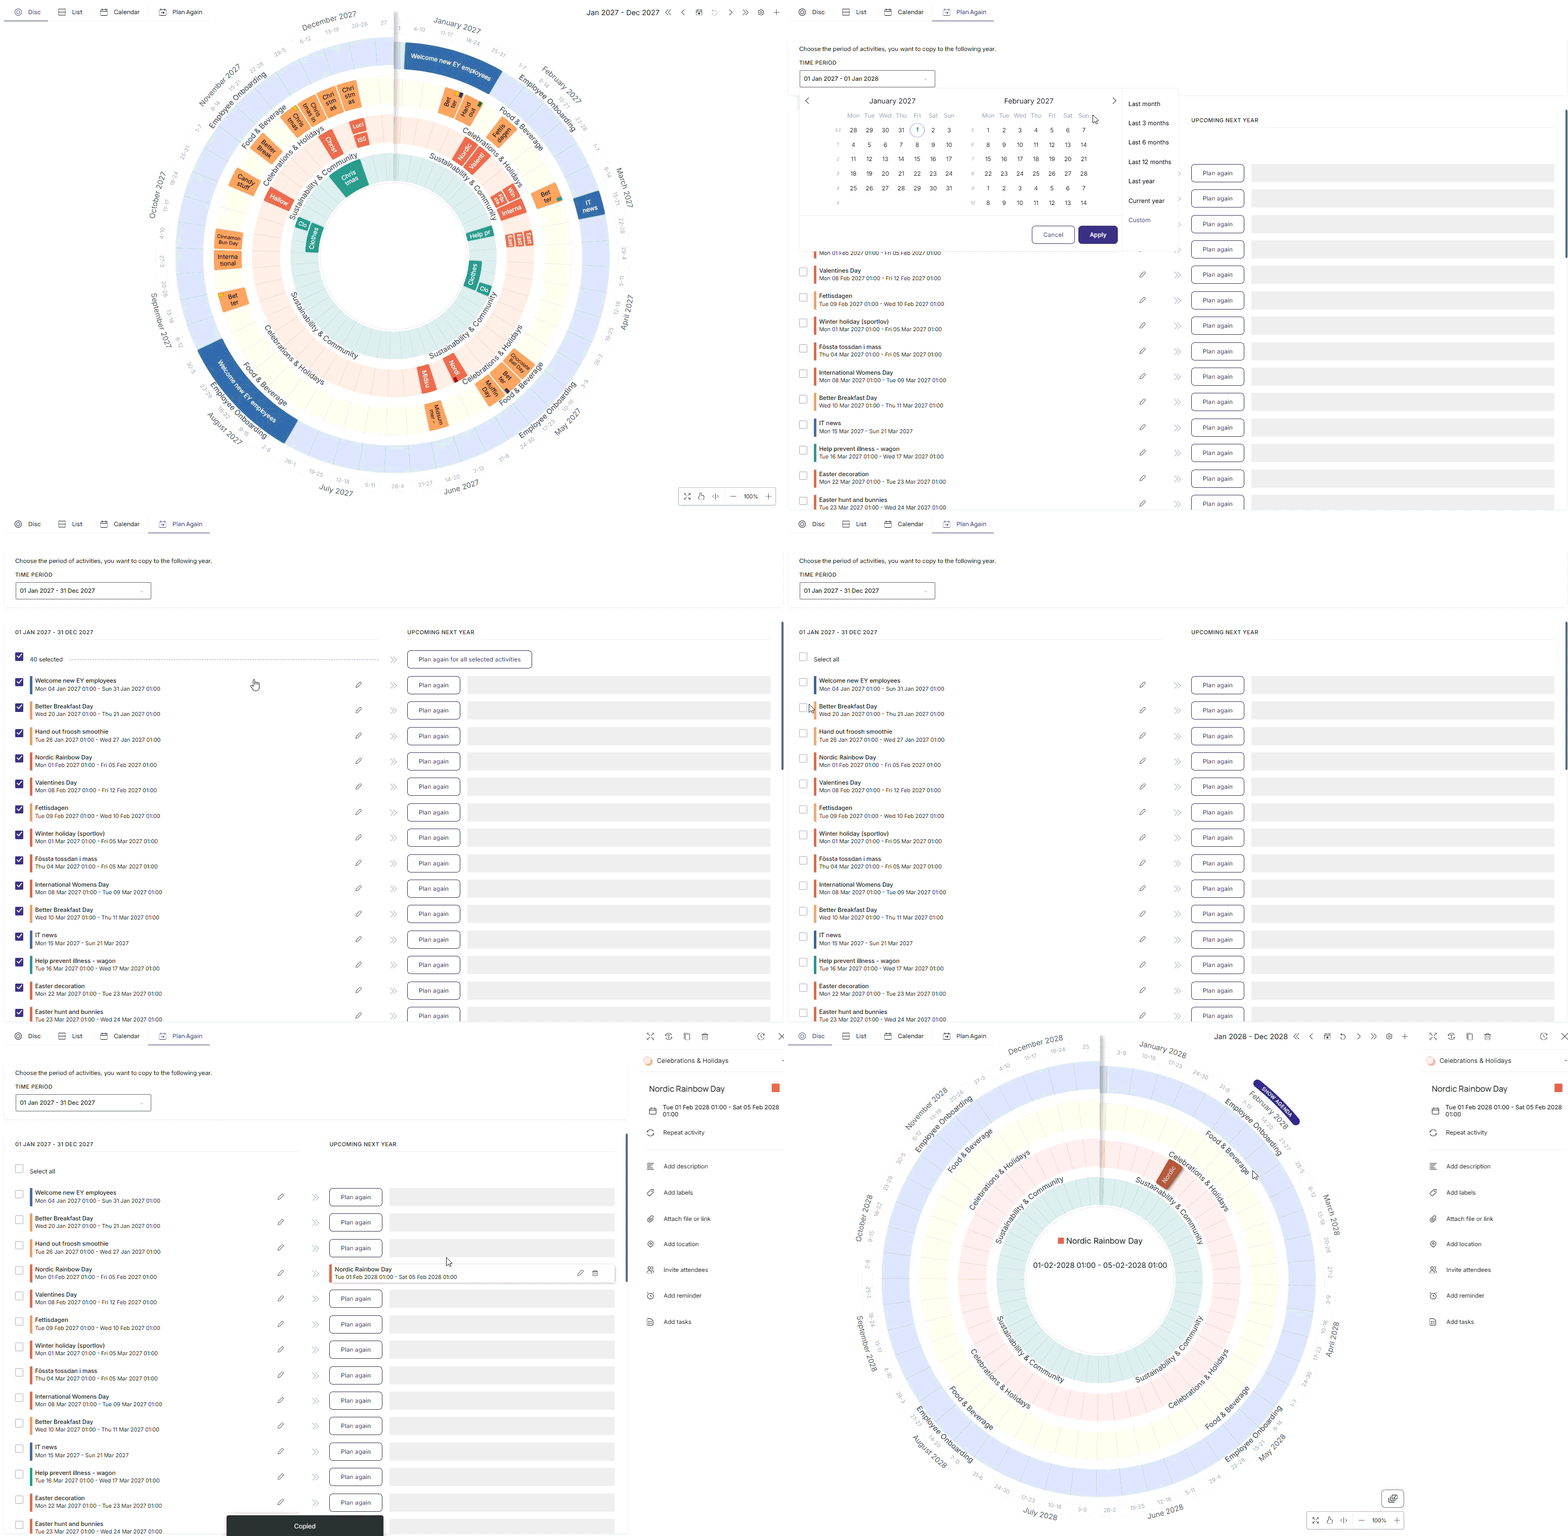
You can carry an activity over to next year's plandisc by clicking "Plan again" in the top menu to see a list of every activity in the plandisc, then pick which ones to repeat for next year.
What's next